 Print This Post
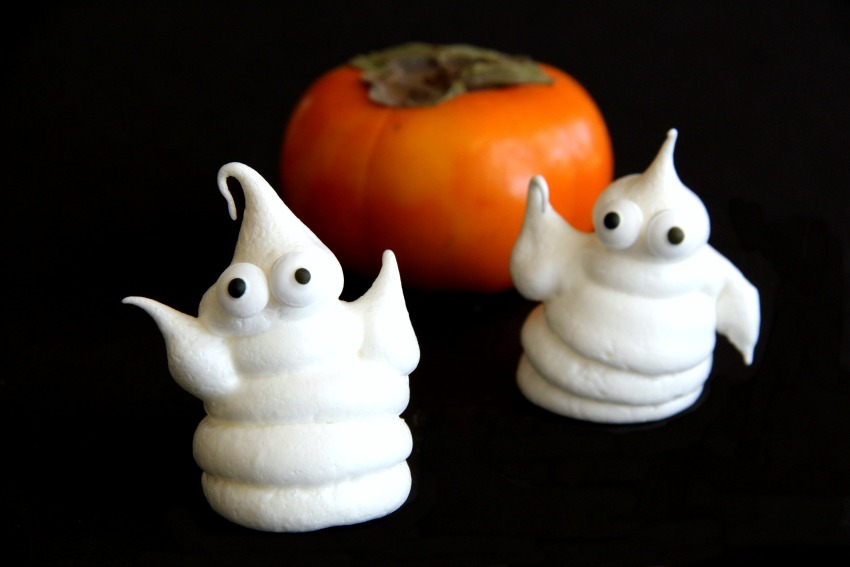
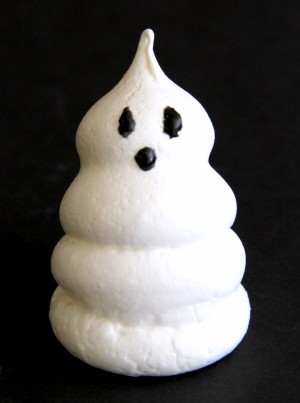
Halloween Ghost Meringue Cookies — a simple almond-scented meringue piped in the shape of ghosts solves your Halloween party dessert needs. Make them spooky or horror — your choice.
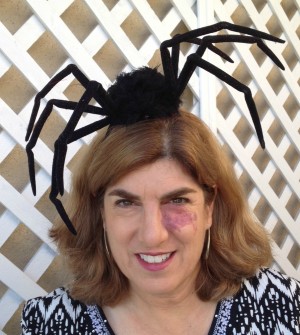 Surely you’ve picked your costume for Halloween, right? I have a little scary spider hat that I like to wear. It’s more of a fascinator than a hat, but it gets the job done — to creep out anyone who is at the door when I answer it.
Even more than my freaky fascinator, though, I’m known for my ghoulish sweets and Halloween foods. I’ve scared many a classroom party with these…
- Witches’ Digits
- Monster Marshmallows
- Shrek’s Dirty Q-Tips
- Maggots on Meat
- Deviled Spider Eggs
- Gory Green Monster Eyeball Dip
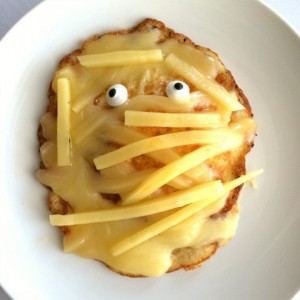
- Cheesy Egg Mummy
- Green Alien Guts
Not to rest on our past laurels, though, we’re back today with the easiest, sweetiest (yes, that can be a word), lightest little Halloween treats ever to hit your party table.
These are going to look so cute scaring the rest of the dessert goodies away.
How to make Halloween Ghost Meringue Cookies
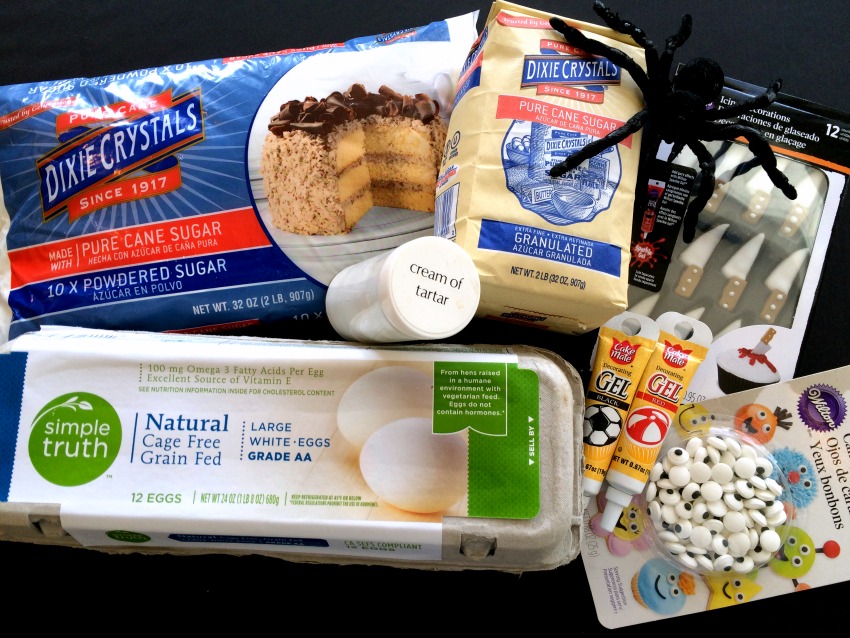 They’re so easy to make. Gather your ingredients (chase away any spiders!), whip some egg whites to oblivion and sweeten with sugar and some almond extract.
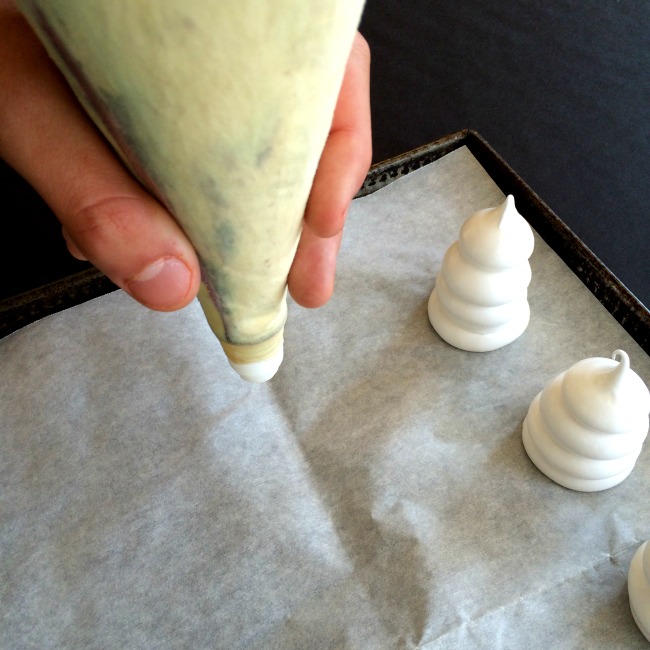
Fill a pastry bag with the meringue mixture and pipe it out into the shape of ghost bodies. If you don’t have a pastry bag, that’s OK, just spoon the meringue into a zipper-top bag and snip a corner off to create your own makeshift pastry bag. Two things: (1) I didn’t put a piping tip on the bag because I liked the way it came right out of the coupler; and (2) don’t mind my stained piping bag. It’s perfectly clean, just discolored from use. “Use what you have” continues to be my motto!
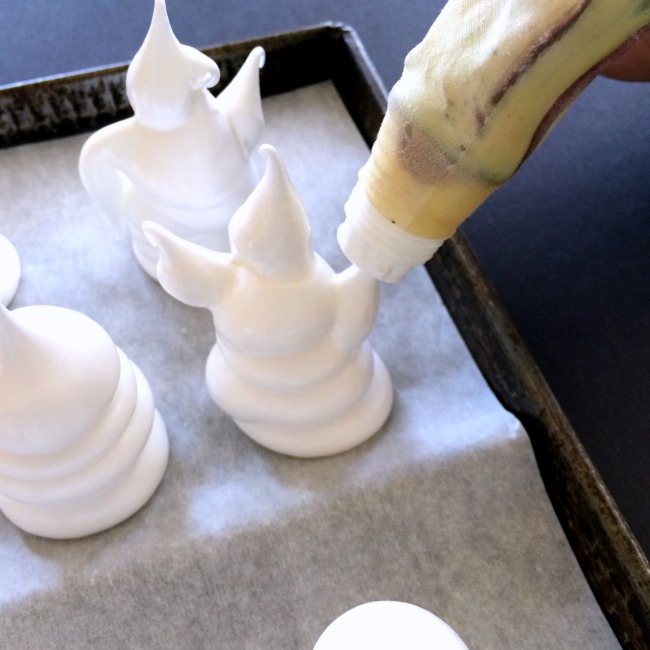
First pipe all the bodies, so you get the hang of it, and then pipe the arms. For arms, you sort of pipe a bit out and then lift the bag away, which creates the arm effect. Don’t worry if an arm sags down…that might make it look more real!
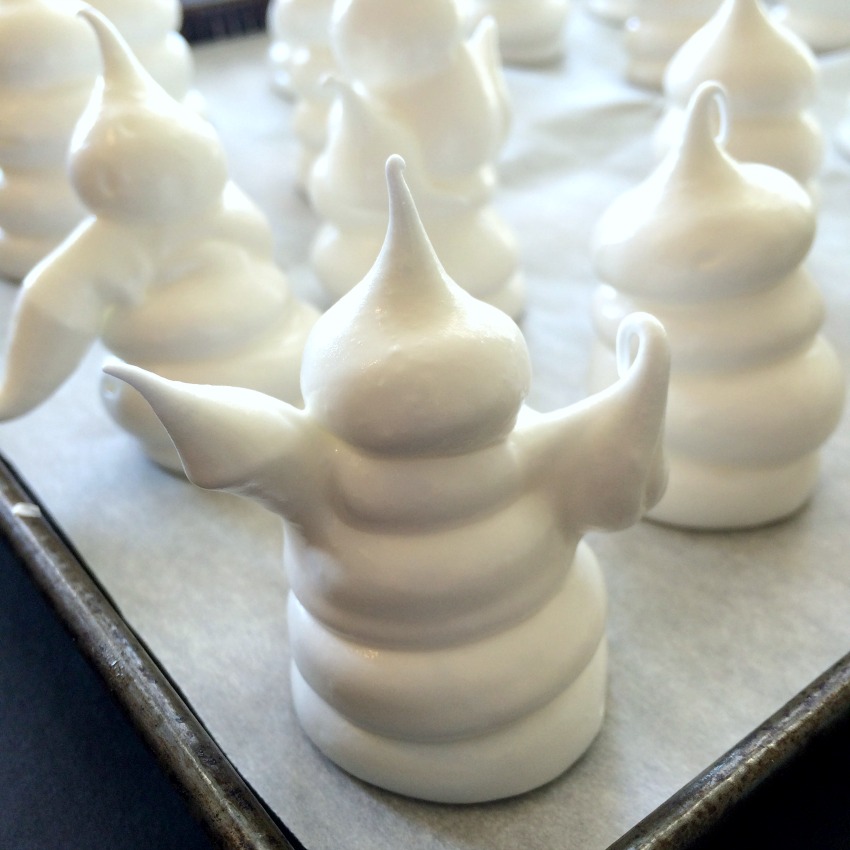 Before baking, the meringue is glossy and white, like above. You will bake them low and slow, and the meringue will lose the gloss but remain white. If you bake them at a higher temp, you risk them browning, which kind of ruins the ghost effect, in my opinion.
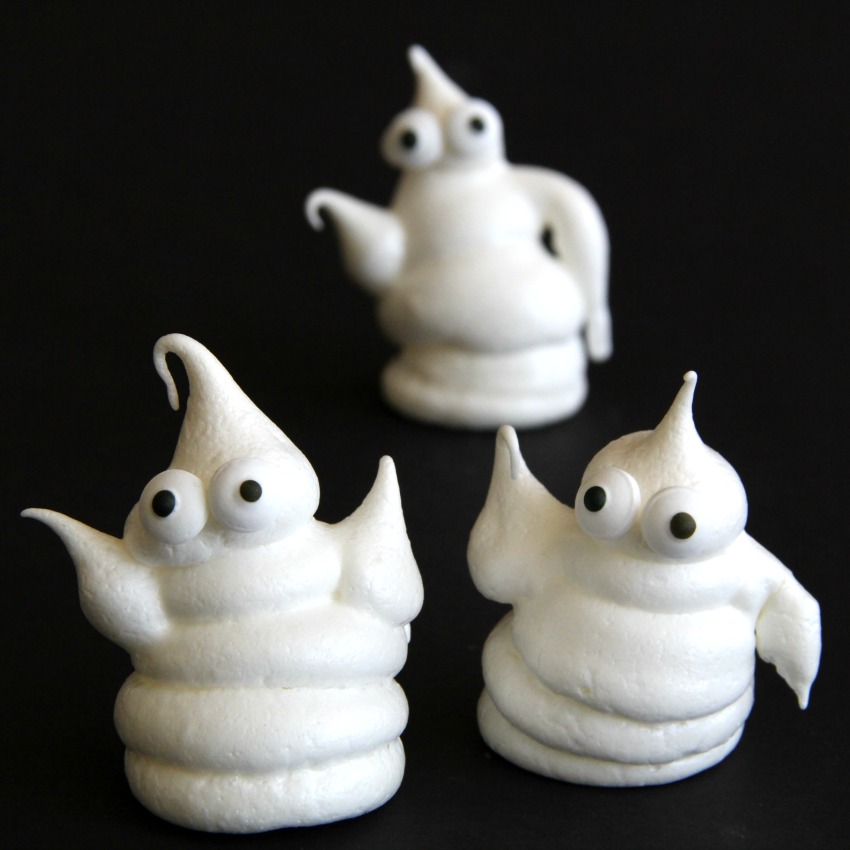
The kids can even get in on the action with placing the eyes or faces, and the older ones can pipe the meringue. See examples below the recipe ⇓ for additional ways to decorate the cookies!
Whether they’re for your own family, for the neighborhood block party or your kid’s classroom, let’s make some Haunted Halloween Ghost Cookies, shall we?
Haunted Halloween Ghost Cookies -- a simple almond-scented meringue piped in the shape of ghosts solves your Halloween party dessert needs. Make them spooky or horror -- your choice.
Ingredients
- 3 egg whites, at room temperature
- 1/2 cup granulated sugar
- 1/4 teaspoon cream of tartar
- Pinch of table salt
- 1/4 teaspoon almond extract (or 1/2 teaspoon vanilla if you don’t like almond)
- Scant 1/2 cup confectioners’ sugar
- .
- Face makings
- Icing gel tubes (black, red, white and any other colors you like)
- Candy eyes
Directions
- Heat the oven to 200°F (93°C). Make sure the oven rack is in the middle slot. Line a baking sheet (cookie sheet) with parchment paper and set aside.
- Add the granulated sugar to a blender and whirl it a bit (5-10 seconds) until it is finely ground but not powdered; this will make it into superfine sugar, which combines more easily with the egg whites. Set aside.
- For best results, use a stand mixer. Make sure your bowl and beaters are scrupulously clean and dry, for best loft on your meringue. In a large bowl with an electric mixer on low speed, beat the egg whites and cream of tartar until foamy. Add the salt and almond extract, increase the speed to medium-high, and continue beating until soft peaks form. Gradually add the superfine sugar, 1 tablespoon at a time, and continue beating until the meringue makes stiff, glossy peaks. (You can test this by stopping the mixer and lifting the beater out slowly to see if it makes peaks, and whether they are floppy or stiff. If they are floppy, beat a bit longer and check again. This might take a total of 5-8 minutes.) Stop the beater.
- Using a sifter or a strainer, sift the confectioners’ sugar into the meringue (this is to remove any lumps). Using a scrupulously clean and dry rubber spatula, gently fold the confectioners’ sugar into the meringue only until combined. For puffiest ghosts, do not fold any more than is necessary or overmix it.
- Spoon the meringue into a piping bag. (Or, if you don’t have one, DIY with a large zipper-top plastic bag. After filling it with meringue, snip 1/4-1/2 inch off one bottom corner tip of the bag. Voila -- a make-your-own piping bag!)
- Holding the bag upright, squeeze gently to make a vertical stack of 3 graceful, white blobs of meringue onto the parchment for each ghost. You might try it like this: pipe a base, then atop that a slightly smaller middle, and then atop that a final curled top. It’s a bit like constructing a snowman from the ground up. Pipe 24 meringue ghosts onto the baking sheet.
- Bake the meringue ghosts for 2 hours, or until crisp. This low-and-slow technique ensures they will get crisp throughout yet remain white. Warning: If you try to speed it up by raising the oven temperature, you’ll have brown ghosts. If the meringues start to color, reduce the oven temperature to 175°F (79°C).) When ghosts are crisp, turn the oven off, leave the door closed, and cool the meringues in the oven for at least 2 hours, or even overnight if you can. (I must say here that my husband prefers these NOT dried for the additional 2 hours. He likes them to be a bit chewy in the center. Suit yourself.)
- If you are using gel for the eyes, dot them on. If you are using the candy eyes, dot a bit of gel on as glue, and stick the candy eyes on there. There’s no rule that says you can’t play with your ghost faces, so feel free to use candy eyes AND then make the mouth from gel, or draw a hat on the ghost with gel, or whatever you like! Your kids will delight in this part of the recipe.
- Makes 24 ghosts.
Notes
Note: Why are we asking for “scrupulously clean” and dry bowl, beaters and spatula? Any oil residue from a prior recipe will reduce the loft of your meringue. And if we’re going to make meringue, we want it impossibly fluffy, don’t we?
Recipe source: Dorothy Reinhold | Shockingly Delicious
Horror decorations
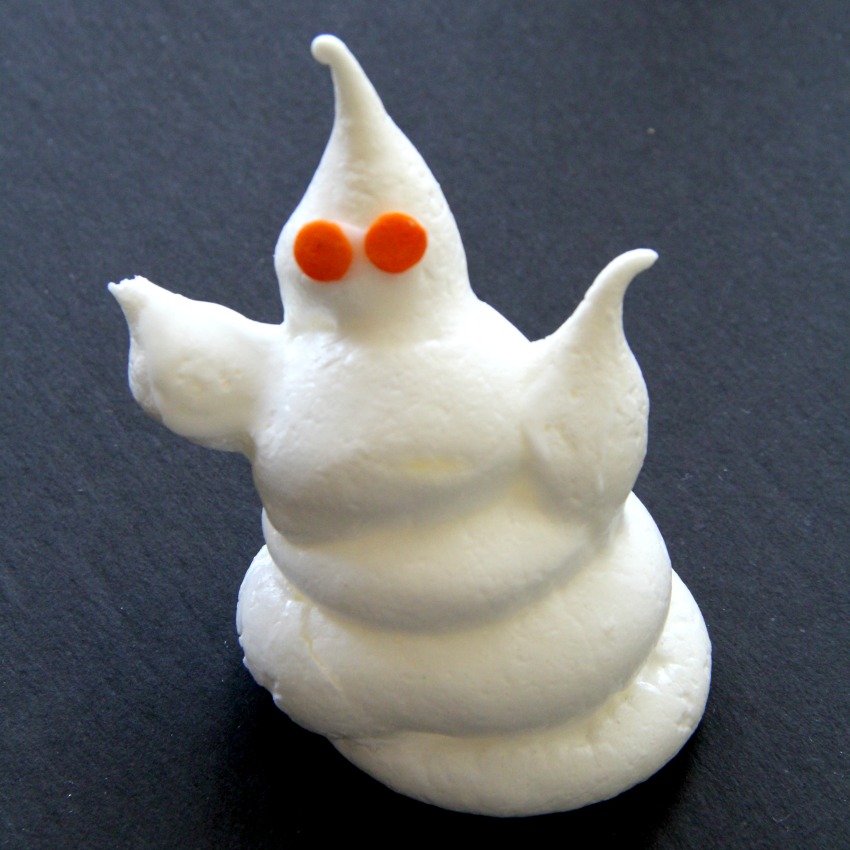
For younger parties, you will want to keep them merely spooky, as above.
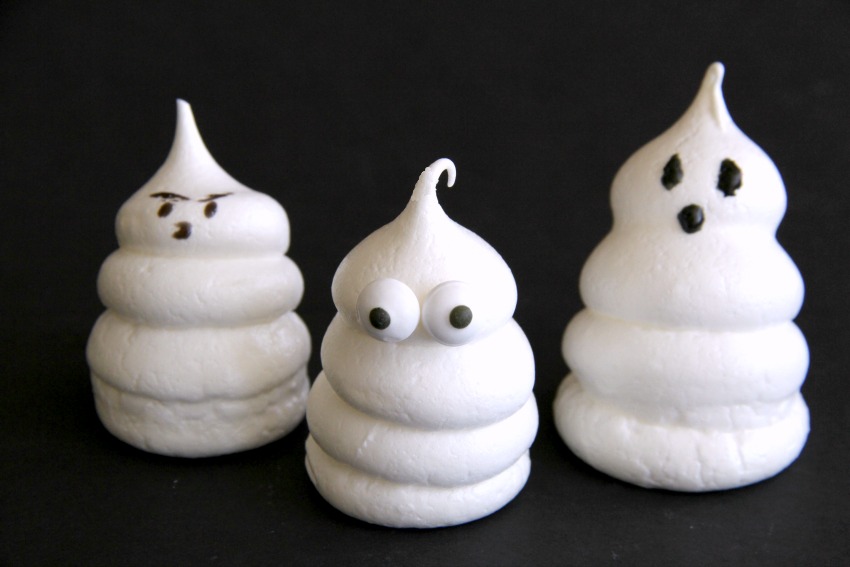 The kids can decide what kind of faces they want, with candy eyes, gel eyes or angry eyebrows.
But for older parties…
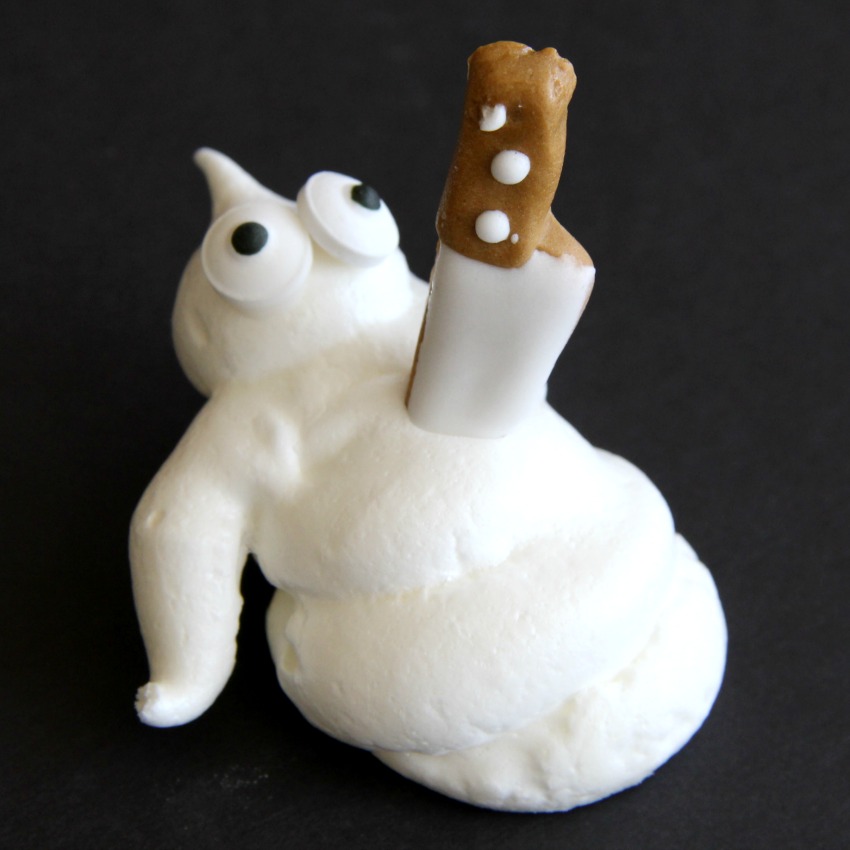 …you could indulge some people’s love of horror. This guy flopped over in the oven while baking, so I took advantage of that posture to give him a reason to be lying down…
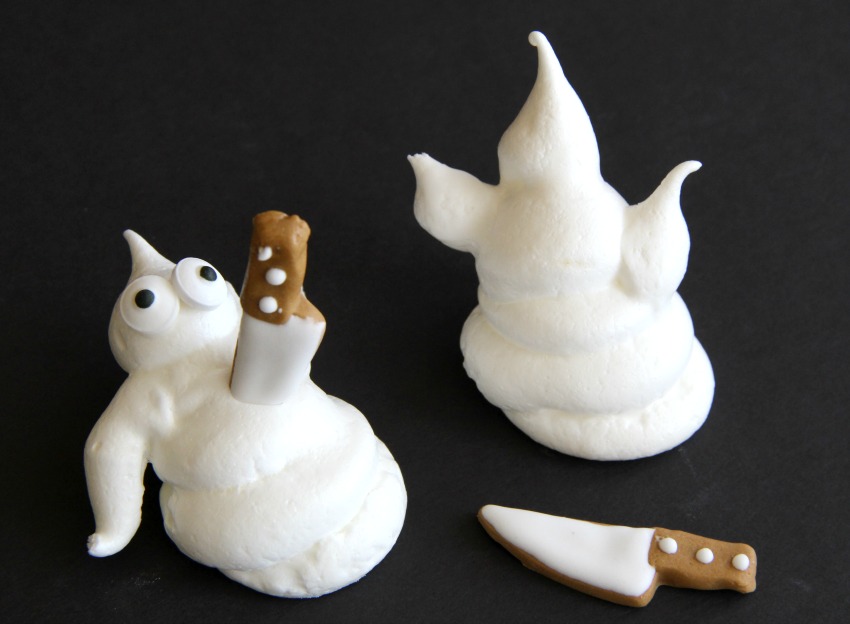
Look how the second ghost appears to be looking on at the carnage, with his arms flung in the air helplessly.
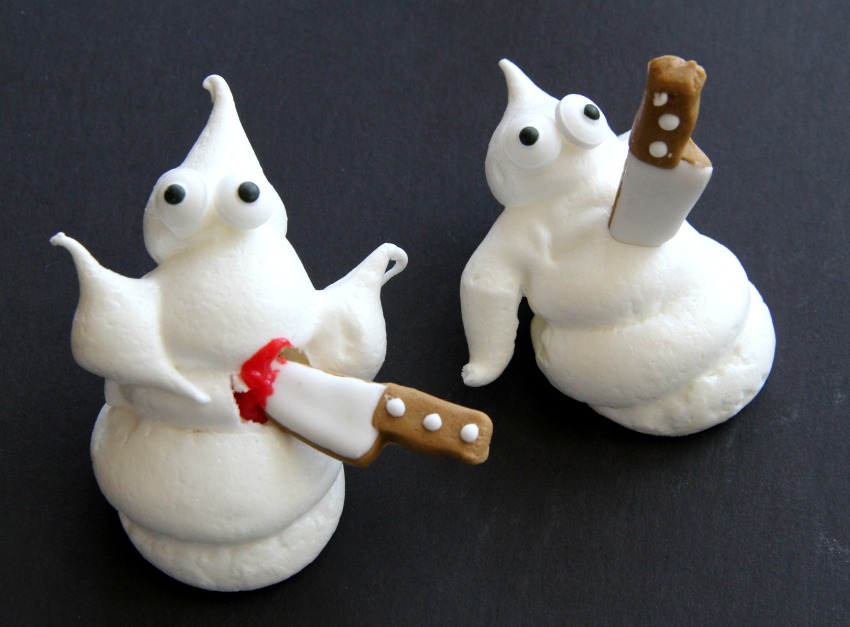
As the kids get older, they may like to add a little blood (sugar decorating gel) at the wound site, for gore.
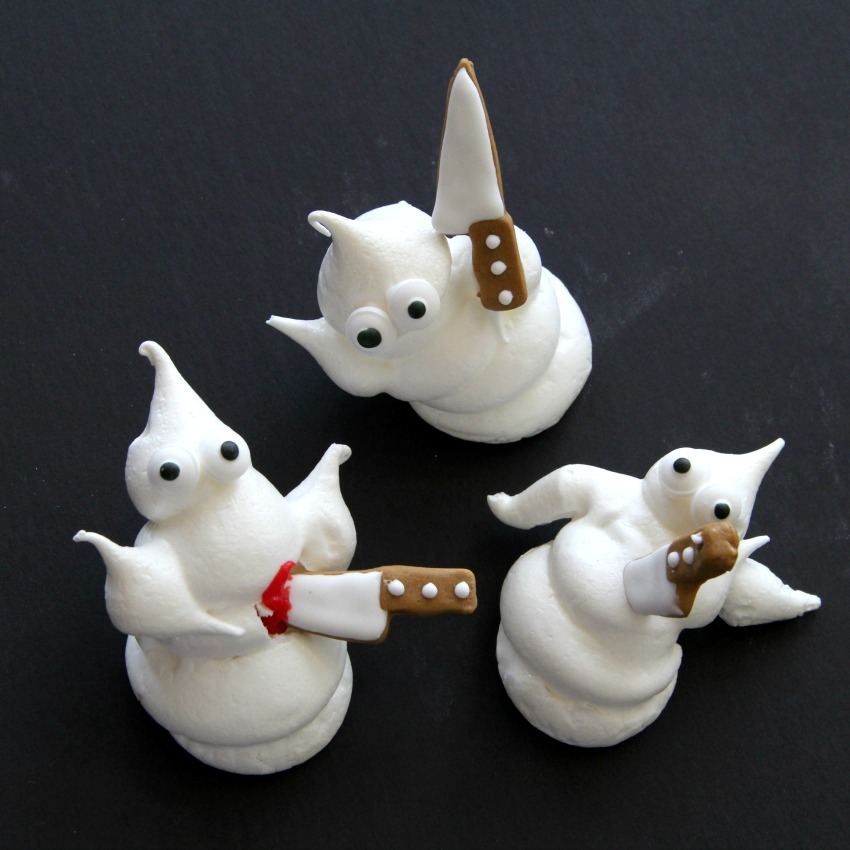
…and arrange their creations in a little gory tableau, for fright night.
 Pin the image below for Halloween Ghost Meringue Cookies to your Pinterest board to save this recipe
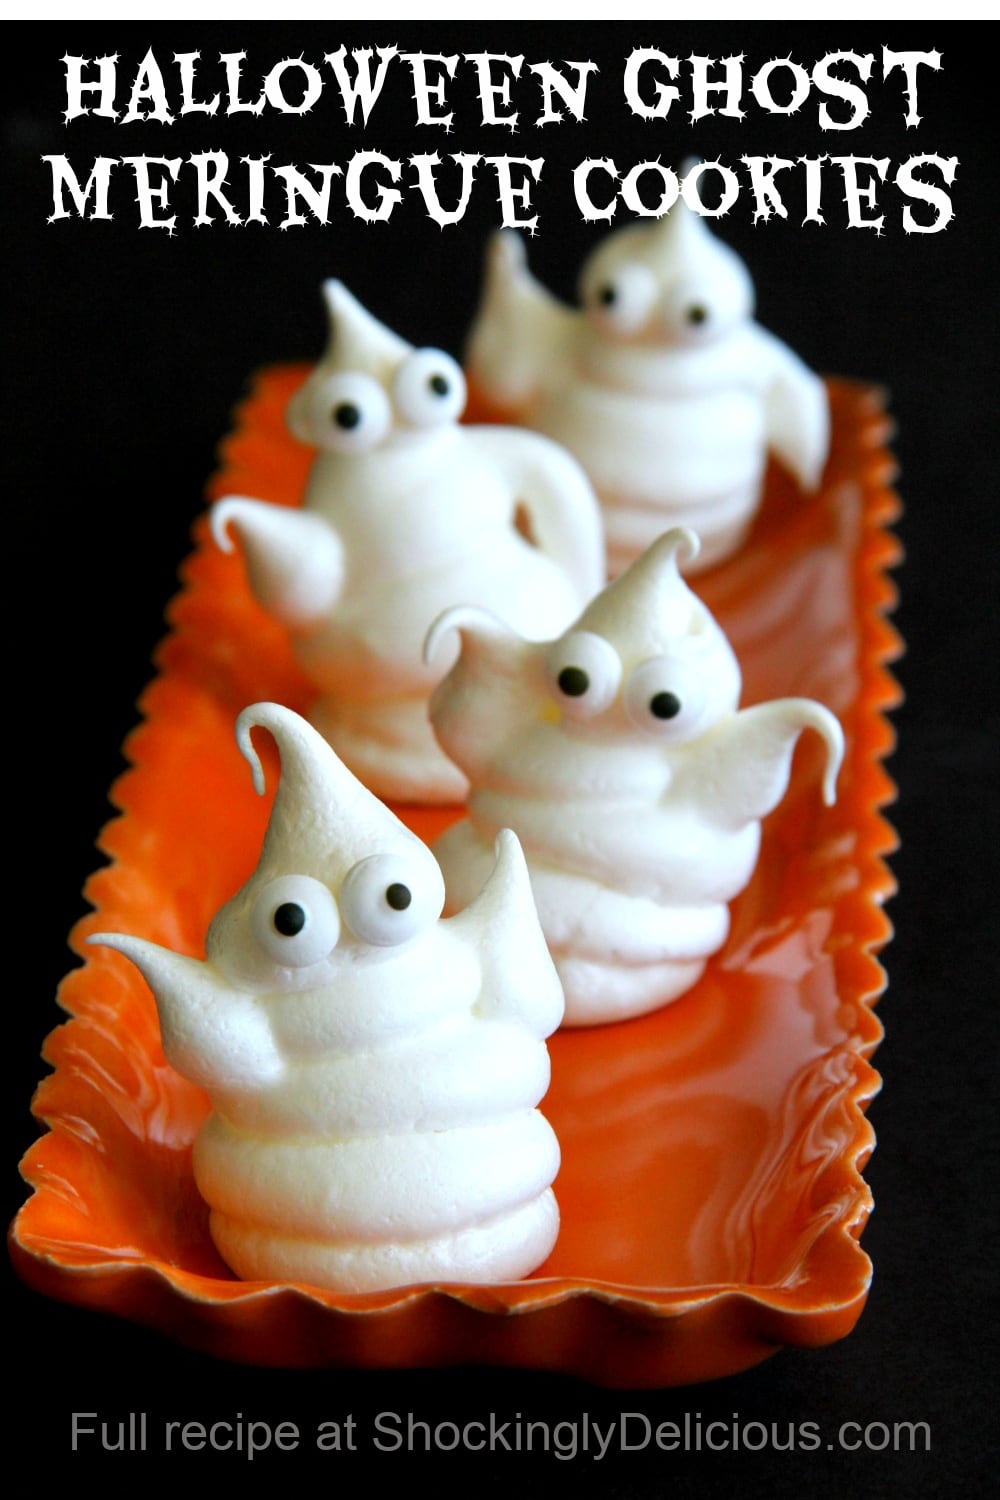
This post was first published Oct. 15, 2016 and has been updated for new publication.
Thanks for visiting…are you hungry for more? Follow Shockingly Delicious on…
FACEBOOK | PINTEREST | INSTAGRAM | TWITTER
…for all the latest recipes, ideas and updates!
This post may contain affiliate/referral links. It is a way for this site to earn advertising fees (at no cost to you) by advertising or linking to certain products and/or services that I approve and prefer. Thank you for using my affiliate link to shop, so I can continue to bring you shockingly delicious recipes!


 Welcome to my kitchen!
At ShockD, you’ll find scrumptious, tried & true, "scary good" recipes, tips and coaching to make YOU a fabulous home cook! Don't blame me if you need a 12-step program to wean yourself away!
E-mail me: Dorothy.Reinhold@gmail.com

{ 26 comments… read them below or add one }
Next Comments →
These are SO fun! Love them!
These are the cutest ghosts ever!! My kids will love them!!
This is just so spectacular! I love them!
Jocelyn,
Spectacular…Thank you! I’ll take it!
This looks so so cute!! My boys would love these!
Ha ha, Its so funny & creative also. My baby like these silliest Halloween ghosts. I think I wanna try it in my home for my baby to be happy. So so cute.
These little ghosts are too cute!
Love all your ghost variations. I made some of these a few back and my kids loved them!
These are so cute and creative!!! I wish I can make it as neat as these! 😀
those stabbed ones are the coolest! ha
Nicole,
Thanks! I wondered if people might be offended. It’s a little edgy.
This are so creative and fun!
So so SO cute!!
These are so cute! I love them!
Those looks so easy to make and so cute! Love that you add almond extract that’s one of my favorite flavors!
Cricket,
Almond extract is my secret weapon against boring flavor!
These are super cute and I love how you can customize them!
THESE ARE SIMPLE THE BEST!!!!! Dorothy, I cannot believe how cute and perfect they are… I doubt I could pull this…
Sally,
You COULD pull it off! Once you whip up the meringue, which I know you can do in your KitchenAid mixer, you simply plop or pipe them onto the baking sheet.
I just think they require more artistic skill than I have – the ones with the knife stuck on them… oh, my! Too good!
Sally,
Don’t sell yourself short. If I can do it, YOU can do it. I am not the fancy-fussy cake decorator type. I don’t have that gene!
Ha ha! These are the best, silliest Halloween ghosts ever! And so yummy made out of meringue!!
Dorothy I love your little meringue ghosts. They have such personality!