 Print This Post
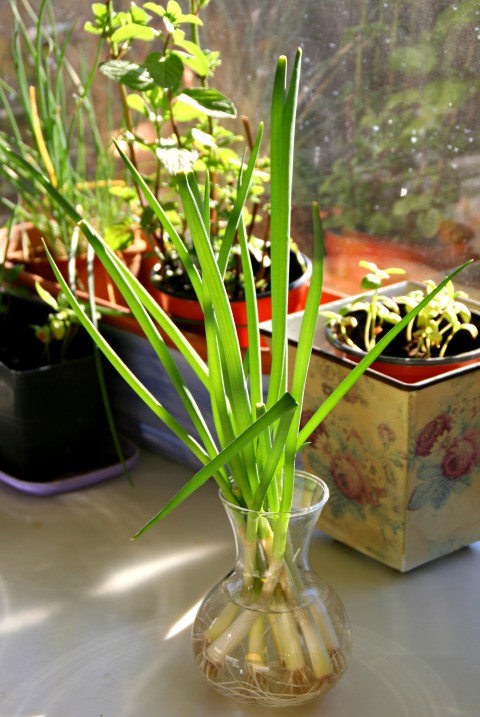
Easily Grow Green Onions from cuttings, on your kitchen windowsill. One bunch of scallions can take you through many cuttings!
Did you know you can grow green onions (aka scallions) from the cut ends of a bunch?
It works brilliantly! Even if you think you have a brown thumb, this is going to work for you.
I might never have to buy scallions again.
Instead of calling ourselves Kitchen Gardeners, we might have to call ourselves Grocery Gardeners!
How to Grow Green Onions from Cuttings
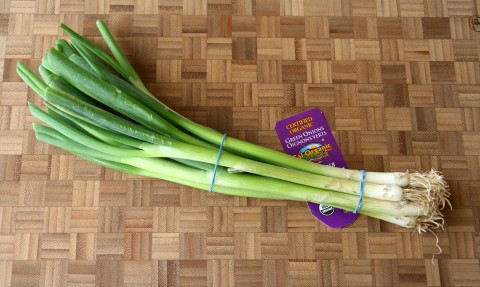 1. It’s a simple trick. Buy a bunch of scallions (organic preferred).
 2. Whack the root end off. Leave oh…1 to 1/2-2 inches or so. Use the top green ends for your recipe. Make something delicious!
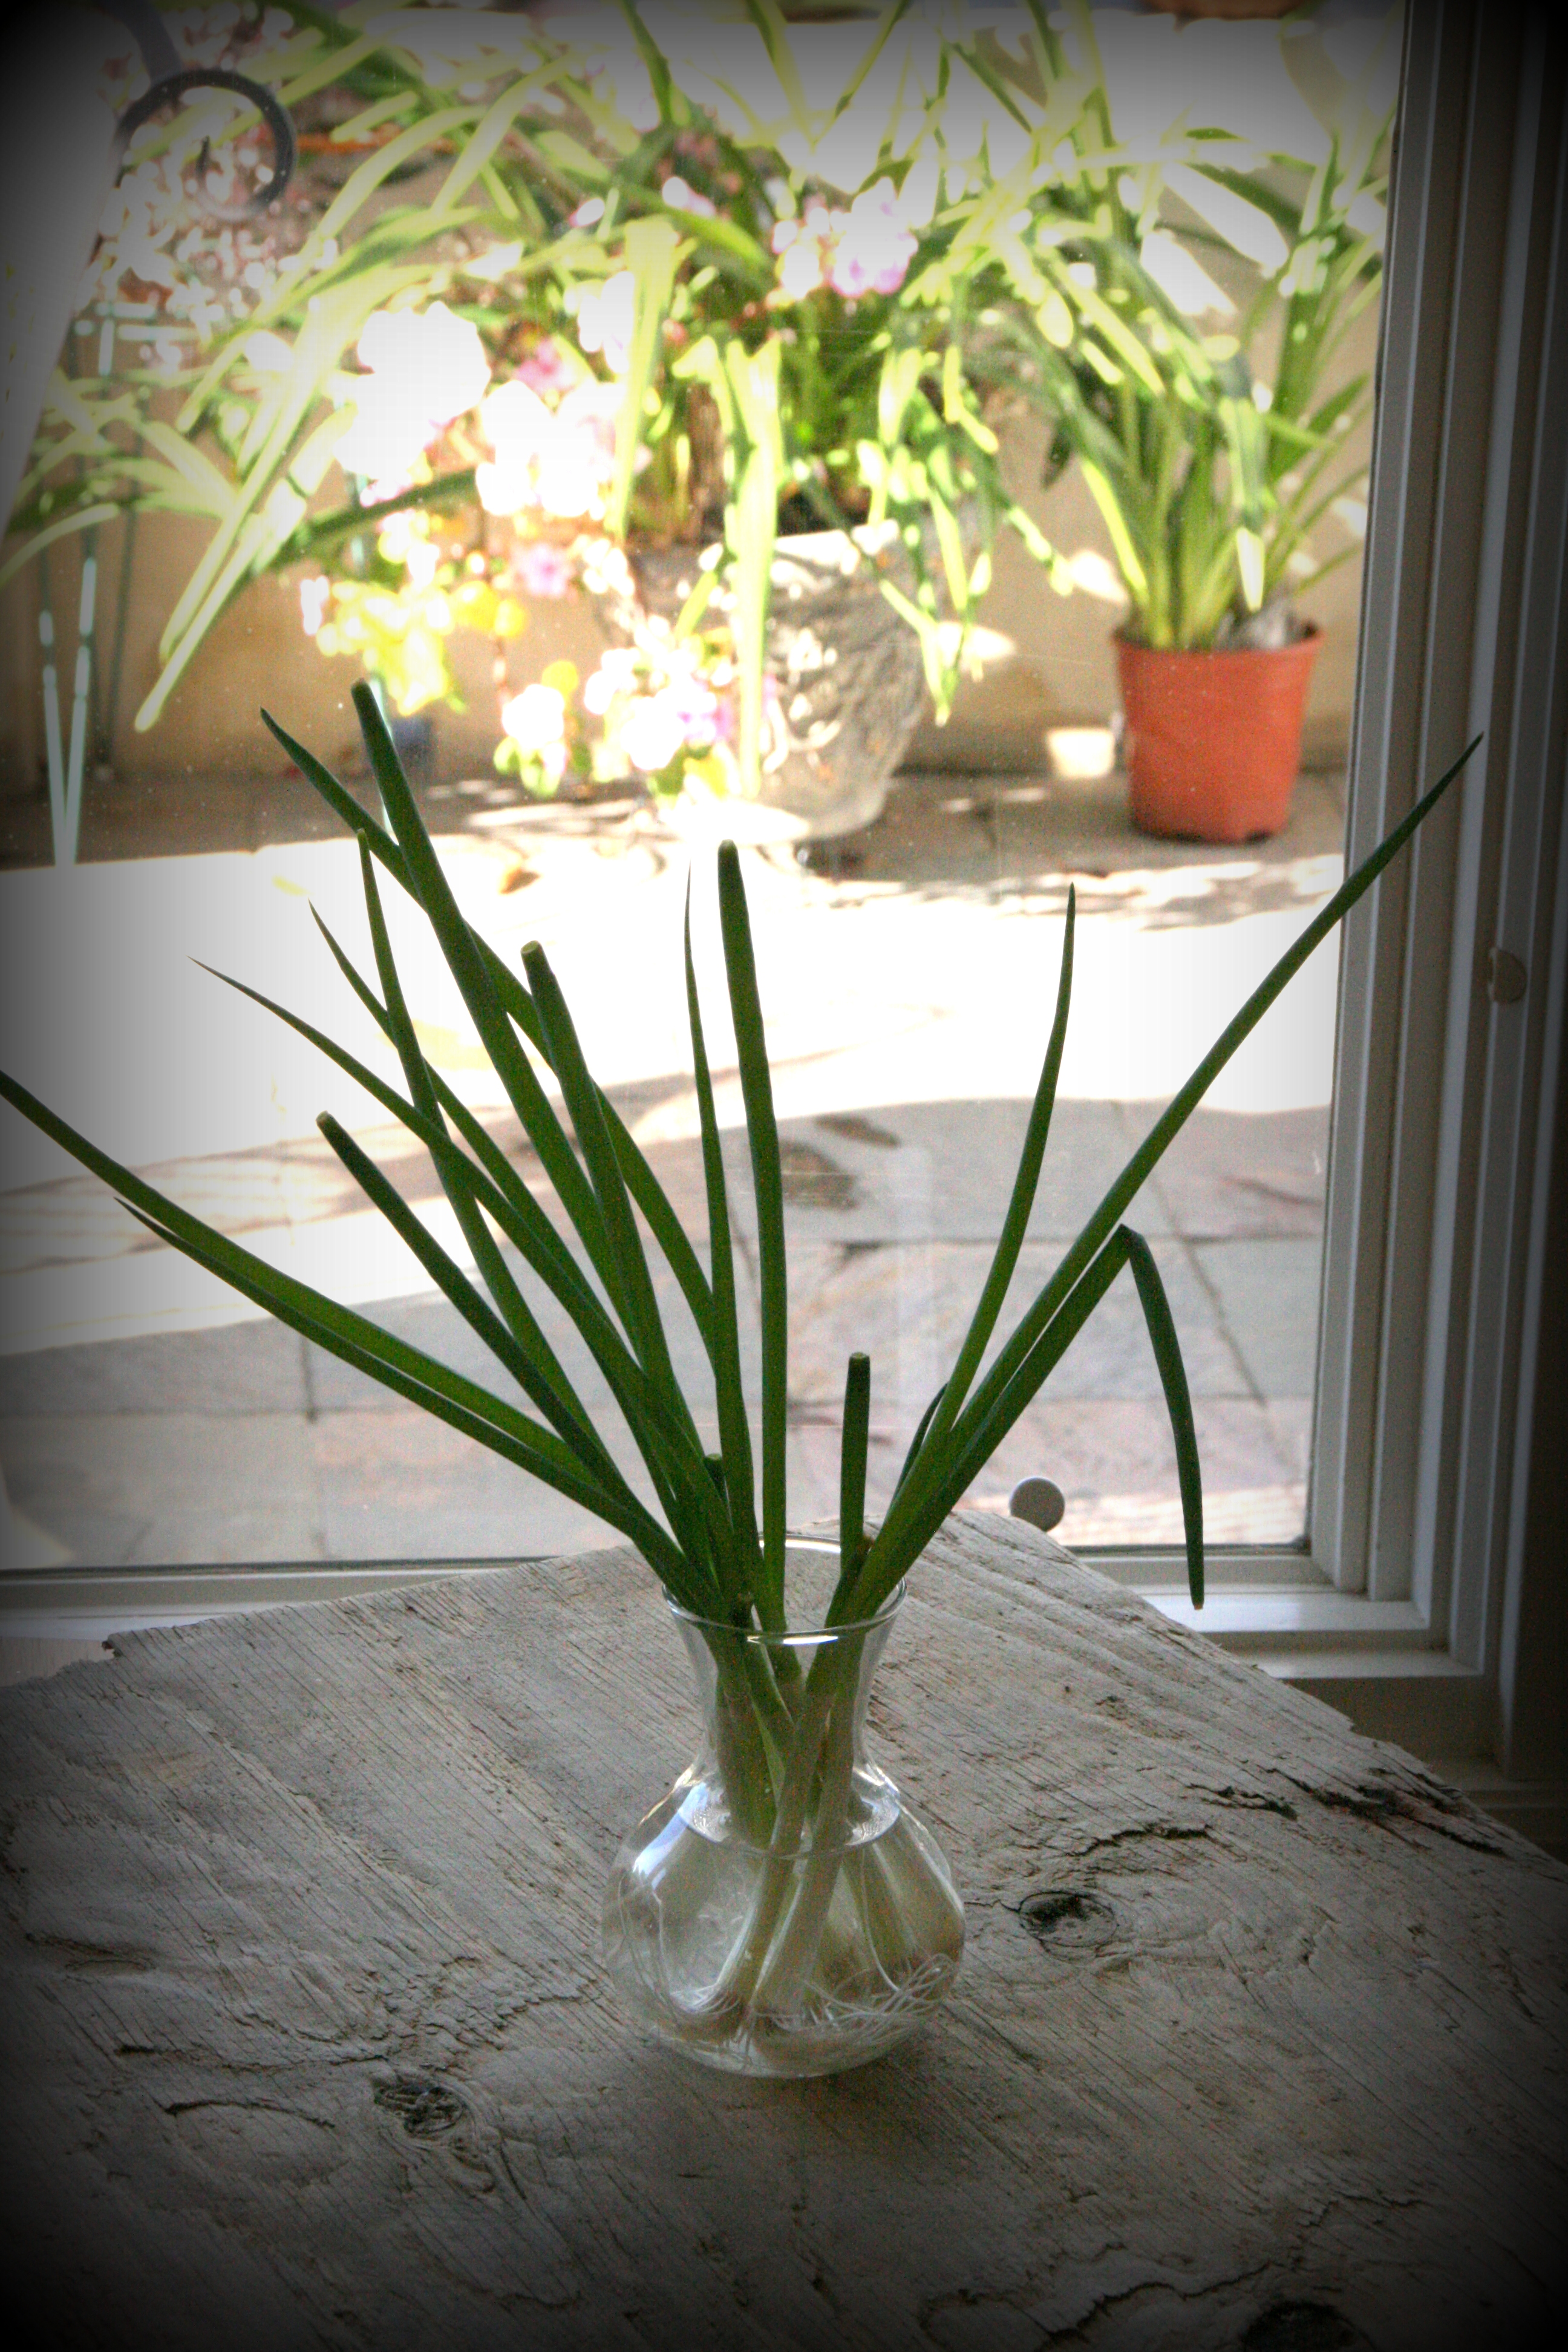
 3. They are longer than they need to be, in this photo. You can cut them a bit shorter if you like.
 4. Plunk the roots into a vase or glass of clean water. Put them inside on a windowsill or ledge that has daylight.
 5. Put a note on them so you know when you started them. Why? Because it’s fun to see how long it takes! They will begin growing immediately. You’ll get up one morning and swear they grew an inch overnight! (Not unlike your children in that regard 😉 ) Please change out the water when it begins to look cloudy or murky; you might have to do this twice a week, depending on how warm your kitchen is. Just dump the water and replace.
6. These took only only 13-15 days to get to their full-size former height. I cut them and did another regeneration. You can do it several times. After awhile, the regrowth will begin to look wan and tepid, and you’ll know it’s time to buy another bunch and start the process again.
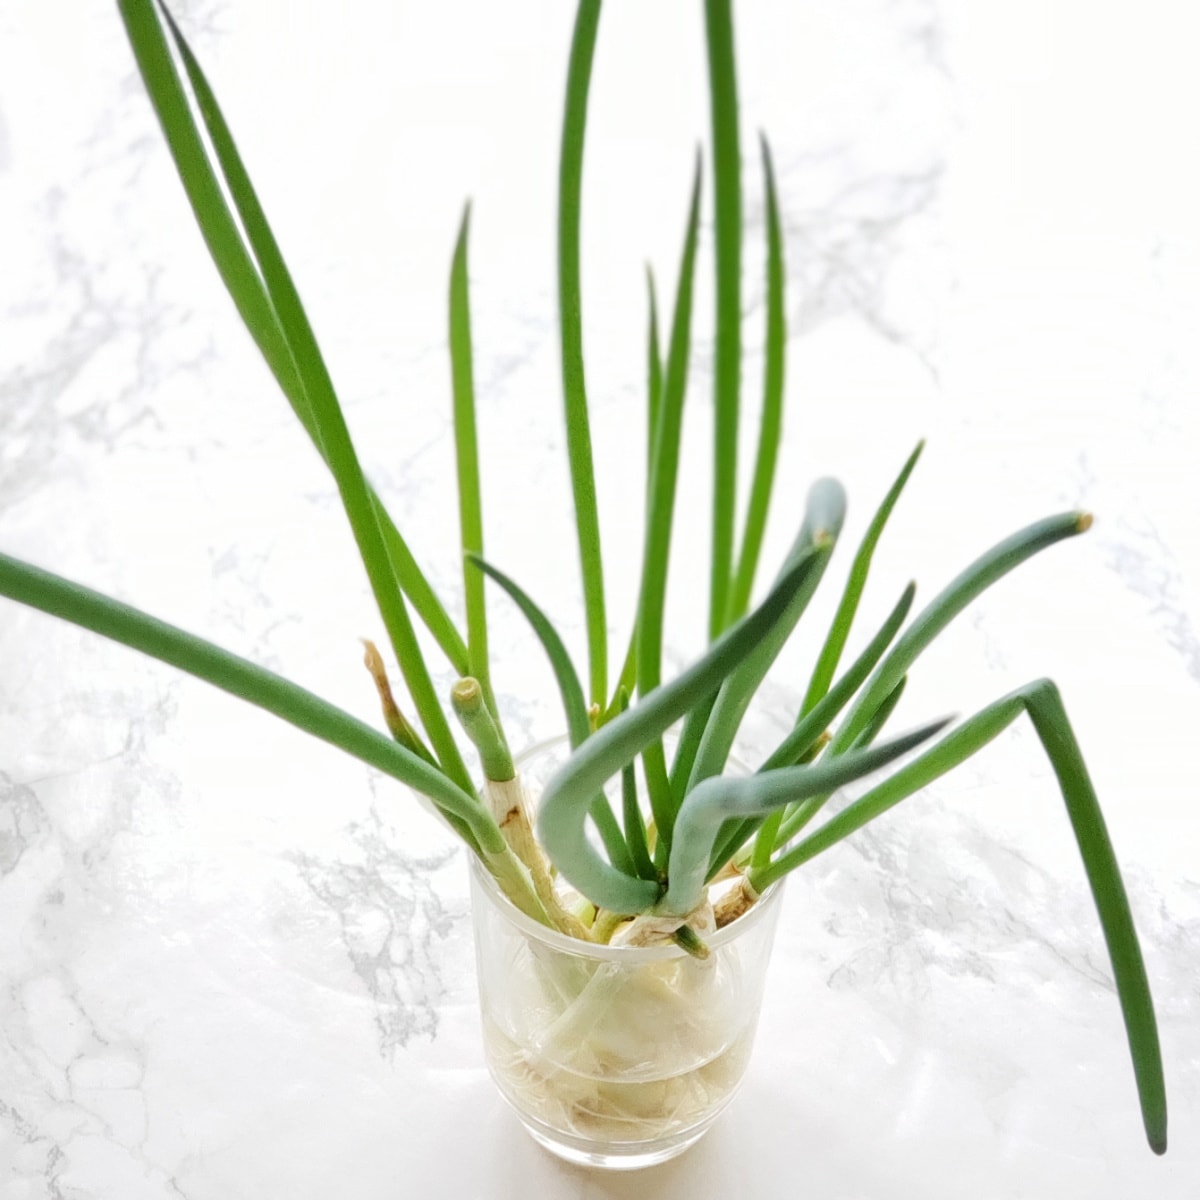
7. Now go write “organic scallions” on your shopping list, and you try it, too!
 Pin the image below for how to Grow Green Onions from Cuttings to your Pinterest board to save this idea!
Send me a photo of your kitchen window scallions, and I’ll post it!
Grow Green Onions gallery from readers:
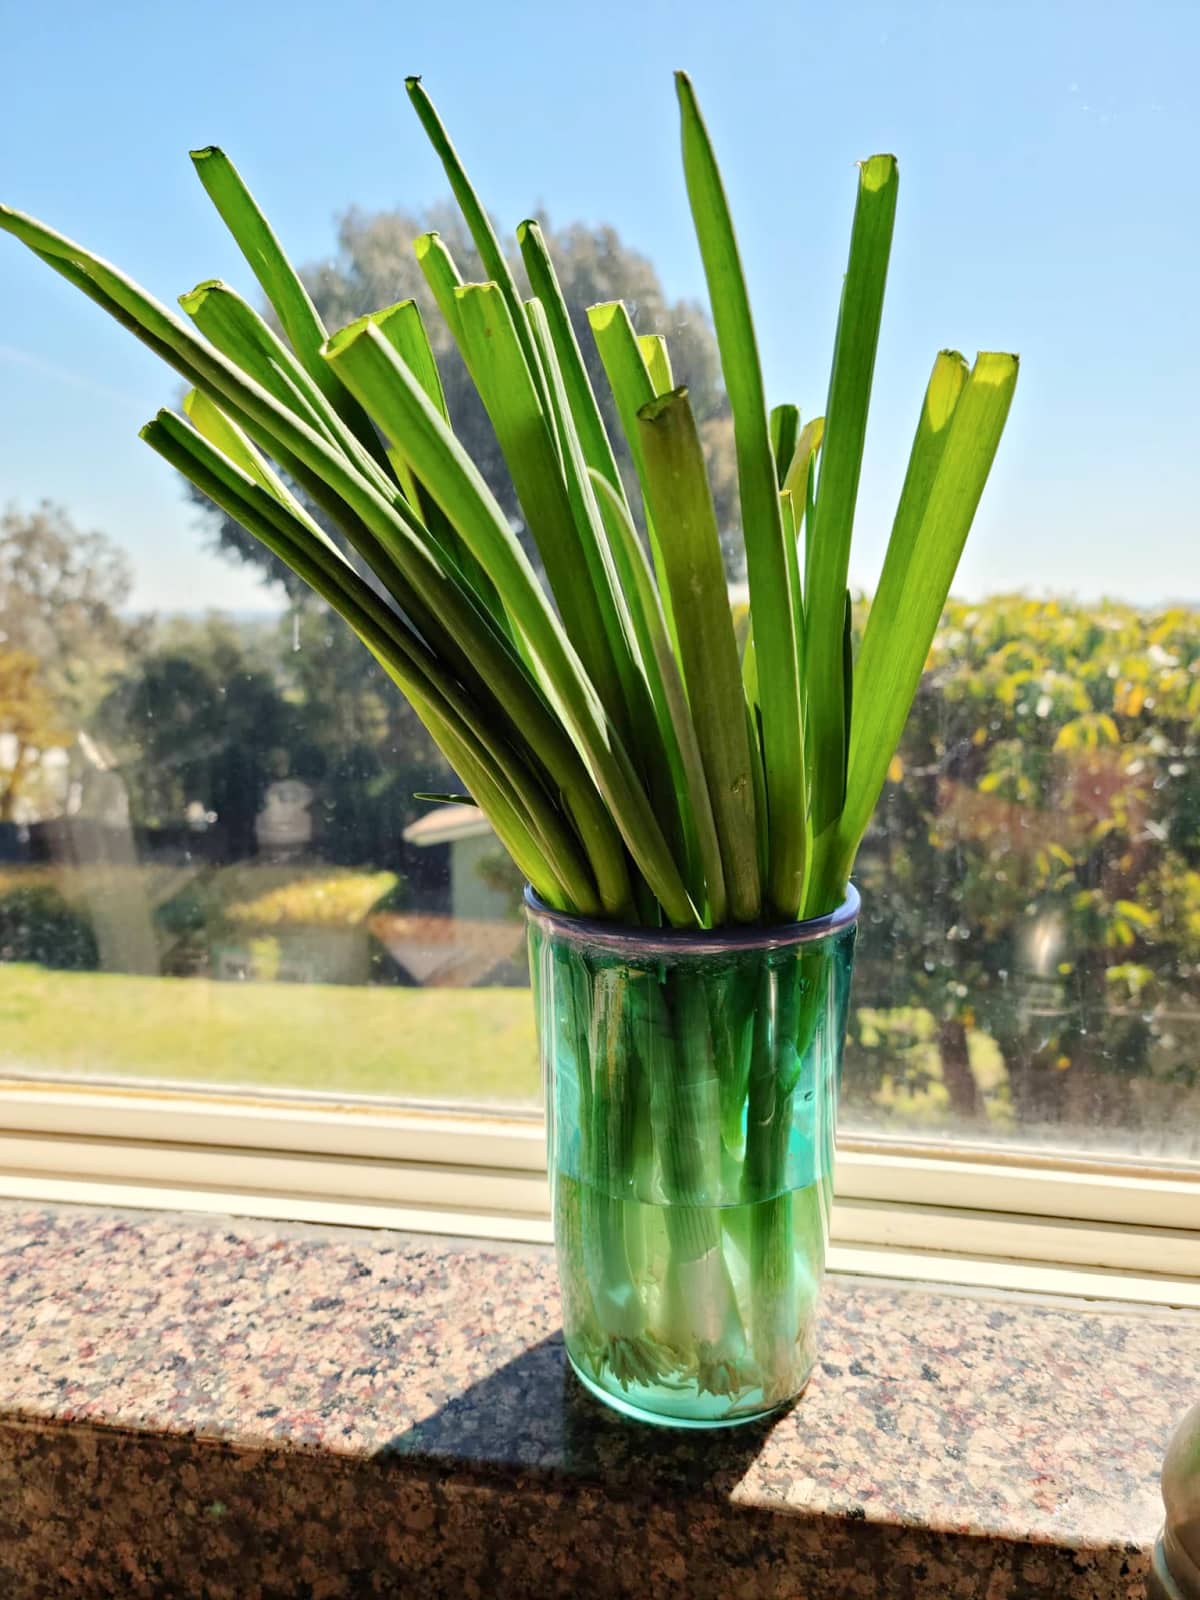
Erika Kerekes plunks her green onion cuttings in a drinking glass, and grows them on the window sill above the sink in her Santa Monica, Calif. kitchen.
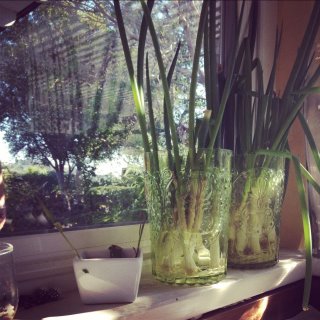 This example is from Kim at Rustic Garden Bistro! She’s clearly an overachiever, with several glasses full!
Thanks for visiting…are you hungry for more? Follow Shockingly Delicious on…
FACEBOOK | PINTEREST | INSTAGRAM | TWITTER
…for all the latest recipes, ideas and updates!
This post was originally published April 1, 2012 and has been refreshed and republished today.
This post may contain affiliate/referral links. It is a way for this site to earn advertising fees (at no cost to you) by advertising or linking to certain products and/or services that I approve and prefer. Thank you for using my affiliate link to shop, so I can continue to bring you shockingly delicious recipes!


 Welcome to my kitchen!
At ShockD, you’ll find scrumptious, tried & true, "scary good" recipes, tips and coaching to make YOU a fabulous home cook! Don't blame me if you need a 12-step program to wean yourself away!
E-mail me: Dorothy.Reinhold@gmail.com








{ 24 comments… read them below or add one }
Next Comments →
Just remember that these are poisonous to your pets, so keep them completely out of reach!!!
I grow my Green onions in soil,but do some in water as well just find the soil ones to grow better. The water grown seam to be lighter in color and need to change water every other day. In soil just water and let them grow.
I have done this inside (during the winter) and found the oniony smell to be a little too much. But seeing this post (via Punk Domestics) made me think that summertime is a good time to try this again — I can leave them on the screened porch! Thanks for the re-inspiration.
Wow! Your green onions grew pretty quickly. I’m seeing a bit of growth on mine but I’m happy to hear that they’ll be full sized within two weeks. Good idea on putting a “started on” note. How many times have you been able to regrow the onions?
Vicky,
I have gotten 2 full growths out of a cutting. In other words, I cut them and plunked in the water, they grew, I cut them and plunked again, and they regrew and I used the whole thing that time.
I love it when an old cookbook pro likes me goes to a blog and learns something new and useful. Brava!
Rick,
Happy to be of service! This really is a neat trick.
Wow! I am getting my fingers wet in this area and this would be a perfect beginning. Thanks for the brilliant idea and it is so simple.
This is genius. I love it and am going to try it today. This is also going to be a fun project for my grandchildren the next time they visit!!!
Saw this on Pinterest! I’m so trying this!!
OMGoodness! I just read Kim’s comment about lemongrass! I have a huge “crop” out by my patio, but am thrilled to hear about it anyway… COOL! Thanks again 🙂
YES! I love it too… enough to testify 🙂 I first heard about it from Ann (Sumptuous Spoonfuls) and have a glass on my kitchen windowsill right now about ready to be harvested! Thanks!
You can plant the ends in dirt too, but it takes longer – love your idea!
Woah! So simple, it’s brilliant!
I wonder what other veggies that this will work for?
I HAVE TRIED WITH CELERY AND LETTUCE. NOT GOO RESULTS. WE EAT THE ENTIRE ONION EXCEPT FOR ROOTS. ANY SUGGESTIONS? THANK YOU.
Awesome tip! Thanks for the post about it 🙂
Great minds!
After the kitchen remodel, we downsized from TWO full-sized refrigerators to ONE. I know, horrendous. (And yes, we used to have his and hers refrigerators.) So now, I store as much as I can “out” of the fridge. Some time ago, I needed the green parts of the green onion for something… and plunked the whites into a glass of water. I left it on the counter. IT GREW! So I planted it outside, and now have scallions whenever I want them. And I’m always incubating more on the windowsill… so I have an endless supply. 🙂
[K]
P.S. This works with lemongrass, too. 😛
Kim,
Good to know about lemongrass. I must try that, because I have a hard time finding it.
Amazing! I have to try this!
I found i could only do it once before it got nasty
Laura,
Interesting! I will have to record how many “crops” I get out of my original bunch. Stay tuned! I do know you have to change the water *before* it gets funky.
{ 1 trackback }