 Print This Post
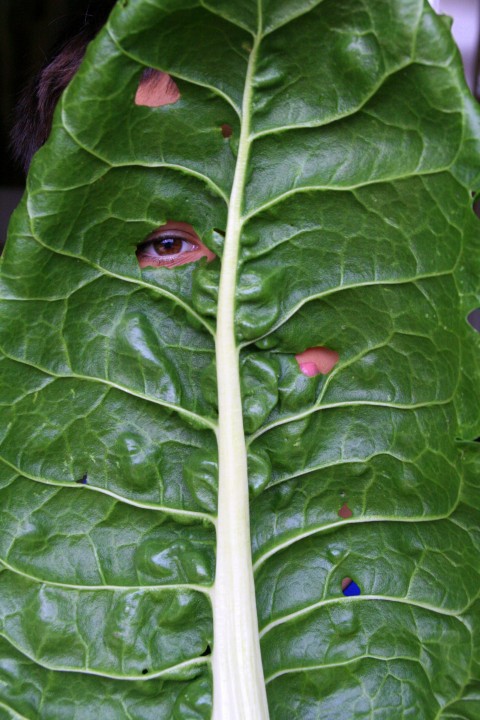
It’s easy to work more greens into your meals and your diet.
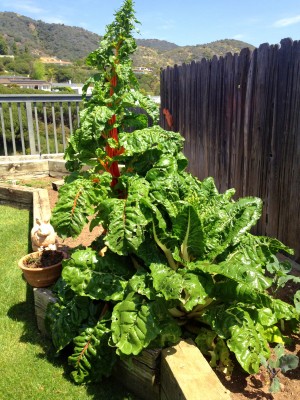
My chard grew large, and then bolted the week I went away on vacation! No matter...I still used the leaves!
But first, if you are a kitchen gardener and are growing the greens yourself, as I do, I need you to give me the Girl Scout pledge and promise you will simply ignore the bug holes in the leaves. It’s hard to be a suburban organic gardener without a few snails and other critters chomping on your leaves, so lean in closer and hear my gentle advice: Just get over it! Just give the leaves a good wash and carry on. To truly be organic, you have to embrace your inner bug.
Now that we have that settled, I suggest you use what I call the “greens strategy.”
Simply put, this is where you cook a mess of your favorite greens on the weekend, drain and keep it in a Tupperware or zipper-top bag, and use the greens throughout the week.
You will toss a handful into whatever you are cooking, whether it is mac `n cheese, tuna fish salad, hummus dip, soup, chile, spaghetti sauce, burritos, quesadillas, meatloaf, etc. Your family will get used to seeing green things in nearly everything, and it won’t be such a big deal. (If you are putting the greens in tuna fish salad or egg salad or hummus or another dip, you may wish to mass the cooked greens on the cutting board and chop them a bit finer, for a better and more refined presentation.)
Use the cooking method you prefer, whether boiling, steaming, sautéing, or even microwaving. At the moment, I prefer simply wilting them in a nonstick skillet.
Here’s how I did my home grown chard
- Pick some! Ignore the holes in the leaves. You will never notice them later once the chard is chopped and wilted.
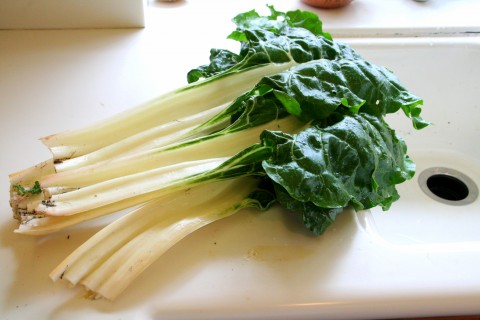
- Wash the leaves well by running cold water over them. Inspect for bugs and whatnot (discard any bugs you find), and give the leaves another rinse just to be sure.
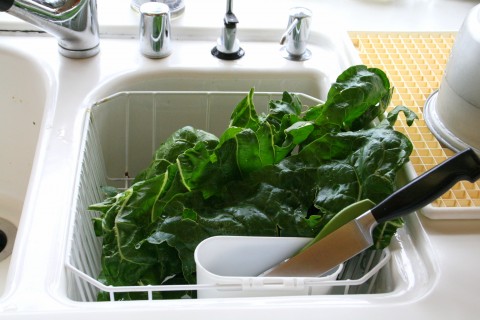
- Drain in the dish drying area, or you could spin them in your salad spinner if you like. Leave them slightly damp.
- Remove the stems if you wish. Or not. Your choice.
- Chop the leaves.
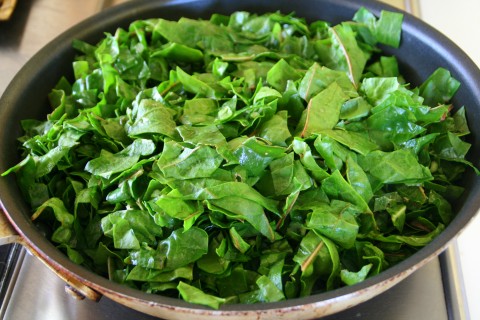
- Place in a large nonstick skillet. This is 12 ounces of chard, chopped.
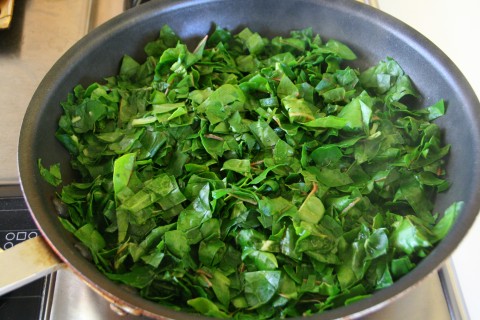
- Turn the heat on to medium-high and cook, tossing every 30 seconds, for a total of 4-5 minutes. The chard will still be bright green, but will wilt considerably.
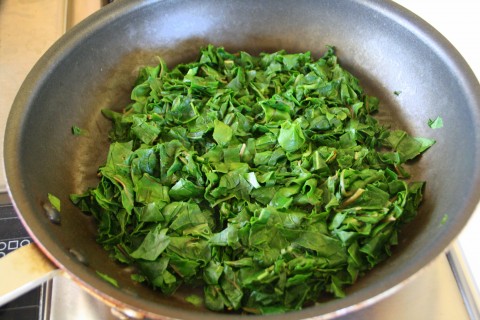
- As it wilts, it takes up much less space in the pan! Turn heat off.
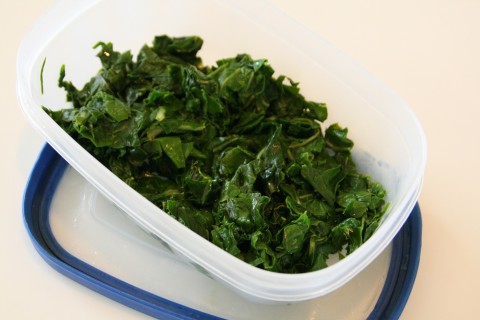
- Place wilted chard in a lidded container and cool. Refrigerate once it is cool.
- Use it throughout the week, in anything and everything you can think of!
Suggestions for using your cooked chard without a recipe
Summary: Some days you don’t feel like following a specific recipe. Maybe you just want to noodle around in the kitchen and come up with something tasty. Or perhaps it’s a day when you are making a tried and true recipe from your files, and you simply want to add greens to it. Or you might be an extremely experienced cook who knows amounts, timing, etc. and all you need is the spark of an idea. Try these quick ideas on those days when a recipe is too much, but a hint is just right.
Ingredients
- When making jambalaya, risotto or virtually any pasta dish, mix up to 12 ounces of chard into the finished dish, folding it in gently. The heat from the cooked dish will heat the greens beautifully.
- Add chard to your spaghetti sauce. If your sauce tends to be a bit chunky anyway (from the tomatoes, ground meat, red peppers, onions, etc.), the extra texture imparted by the greens won’t be noticeable. If your sauce tends to be more on the smooth side, you might want to add only the green leafy parts, and leave out the stems, which have more texture.
- Sauté chard with some half-and-half, then add some grated Parmesan cheese for flavor. Add some strips of grilled chicken, season to taste and roll it up into a tortilla. Serve with a small side salad for a quick, easy dinner that relies on leftovers.
- Mix wilted chard with canned black beans, corn, leftover rice, grated cheese and a few squirts of hot sauce, and wrap it up in a tortilla for a nutritious homemade burrito.
- Stir beans and cheese into your wilted chard, then roll mixture up in corn tortillas, place seam side down in baking dish, top with prepared enchilada sauce, more cheese, and bake, for a green enchilada.
- Max wilted chard with cooked couscous, chick peas, lemon juice and garlic, for a bright, tasty side dish.
- Use wilted chard on top of homemade pizza with olives and goat or feta cheese.
- Use wilted chard when making vegetarian lasagna.
- Add chard to a bean and sausage soup. Make a broth using chicken stock or vegetable broth, then add a can of cooked beans (such as Great Northern), chopped onions, sliced smoked or Polish sausage and the chopped greens. You can make it as hearty or liquid as you like, and even add a chopped tomato. Cook it just long enough to tenderize the greens and meld the flavors.
- If you’re making a quiche, simply add wilted chard to the egg mixture, pour into pie shell, and bake as usual.
Have fun! It’s easy to be green!


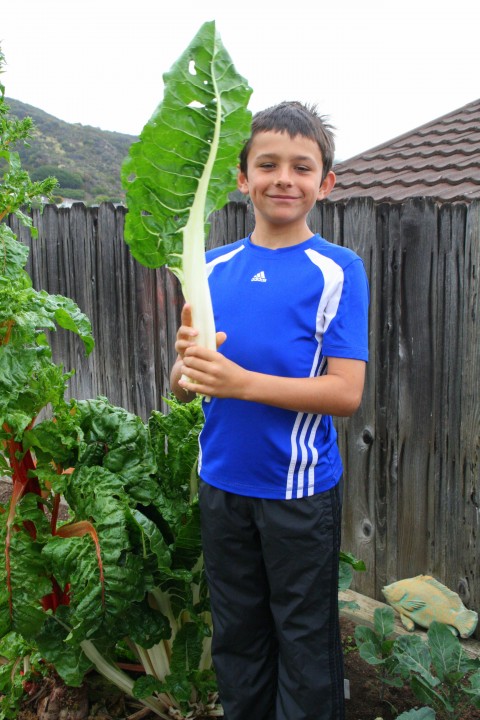
 Welcome to my kitchen!
At ShockD, you’ll find scrumptious, tried & true, "scary good" recipes, tips and coaching to make YOU a fabulous home cook! Don't blame me if you need a 12-step program to wean yourself away!
E-mail me: Dorothy.Reinhold@gmail.com




{ 16 comments… read them below or add one }
hello darling! you’ve been featured this week at the Fresh Foods Blog Hop for this post. Hope to see you again this week!
i always – ALWAYS – grab a couple handfuls of chard from the farmer’s market, cook it down the way you just did, and stuff it into my mac and cheese. it not only provides a color and texture contrast (careful if using red chard = pink pasta), it’s extra nutrients too!
thank you for sharing with Fresh Foods Wednesday – hope to see you back next week!
p.s. if you don’t mind linking back to us in your post, that would be wonderful darling…xo!
I love this post! My greens have holes. I have never understood why that puts some people off. I’d rather have holes than pesticides! 😮 I tend to pick, wash, and spin dry, then put the spinner in the fridge for a day or two….if there are still greens left at that point, I wilt & use or freeze, as you’ve mentioned.
Eat your greens, people! 🙂
i often cook up greens and then puree them in the blender, put in icecube trays and freeze. I then pop a frozen green cube in all sorts of things. My kids will eat things with green in them but they want them speck like. I live your monster chard leaves.
What gorgeous looking greens! Thanks for sharing with the Fresh Foods Blog Hop!
I’ve been buying chard and kale at the Farmer’s Market but not using it all during the week when I don’t have time to prepare it. This is brilliant! I pre-cook so many other things for the week ahead…it never occured to me that greens could be done this way too! Thank you! Looking forward to meeting you at Camp Blogaway!
Mimi,
Yup, I find that if the greens are cooked and at the ready, they get tossed into so many more things than if I had to start from scratch with them each night. Make it easy on yourself!
I know how to get people to eat greens, dye them another color! GREG
Good idea, I do this with kale because for some reason my family is not big on Swiss chard.And I agree, people need to get over those holes in leaves already 🙂
Greens in my morning smoothie too. Add 6 drops of stevia to remove a slight bitter after-taste.
Liz,
Thanks for that tip! You’re right…a little bit o’ sweet can tame the bitter of some greens.
Ha! Love the first photo Dorothy. And I love your ideas. And your words. And pretty much your blog in general. Mostly, I love having witnessed how ShockD has truly found its stride : )
Any tips or thoughts on freezing portions of cleaned and wilted greens?
Ginny,
Thank you for the kind words!
Yep, you can absolutely freeze greens. I would wilt them, cool them and portion them in sizes that make sense to you. Chopped spinach is in a standard 10-ounce package, so measure the weight of the greens BEFORE wilting, then wilt, cool and put in a freezer-safe Ziplock or other freezer container and freeze. Then you will be able to use that as you would a pack of frozen spinach, subbing your greens for the frozen spinach.
Or wilt a whole mess of some greens and portion the resulting stuff in 1-cup portions, to throw into soup or whatever you are going to be making.
This will be a great small/do-able project for a new mom like yourself!
Delicious Ideas …
What a great idea!!! It is so hard to make my kid seat greens.
I now see the hope. I’ll try this for sure!!!
All great ideas. I am committed to eating more greens in 2012 than I did in 2011 – by a long shot! Thanks for the tips Dorothy!
{ 1 trackback }