 Print This Post
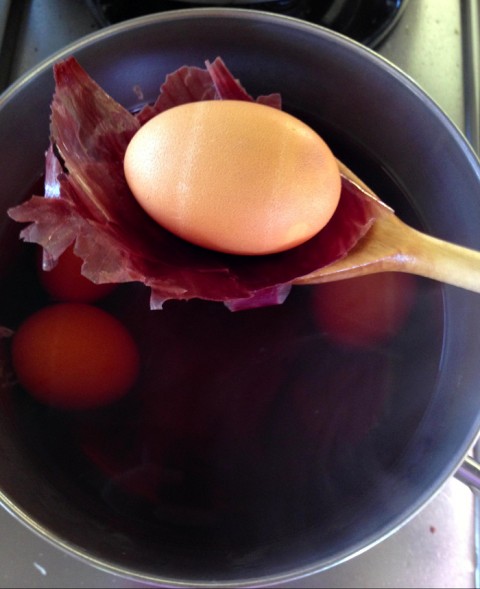
Put down the Paas.
The easiest way to color Easter eggs is also the most natural way — throw something into the water in which you are cooking the eggs. When the eggs are done cooking, voila, they emerge a different hue, and ready for their star turn in a pretty basket.
And the easiest ingredient you probably already have readily available to color your eggs is papery onion skins, which gives you a gorgeous ochre color. The color will be like you paid some artist to paint and mottle your plaster walls – you know that lovely effect you see in high-end home design magazines?
Here’s how to do it.
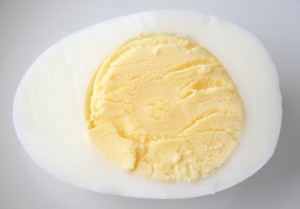 Quickly read my easy Cooking Class on how to hard cook eggs. There are a couple of important hints in here, and once you are grounded in how to hard cook an egg, you’ll know forever. This technique also gives you a perfect egg inside, so you don’t get that green ring around the yolk that forms sometimes.
- Peel the papery brown skin off several onions. You may use the skin from brown onions,
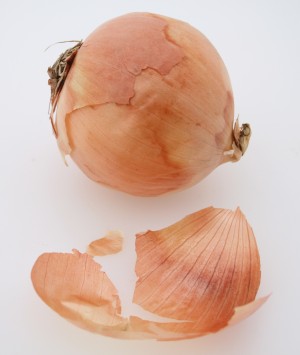 the skin from purple onions, or both.
 - Place the eggs in a medium-sized heavy pot, add a pinch of salt, the onion skins and cover with water by about 1-1 1/2 inches above the top of eggs. Cover the pot and heat until boiling. This will only take a few minutes (exact time will depend on size of pot, how much water is in it, how high your heat is, etc., so don’t leave the kitchen or you will come back to a furiously boiling pot and you won’t know how long it has been boiling).
- As soon as the water comes to a full boil (listen up, this is important!), turn heat off, leave pot lid on, and allow the eggs to sit in the hot water for 13 minutes. Set the timer so you are sure.
- When timer rings, take the pot over to the sink, pour off the water and onion skins, and run cold water over the eggs; pour water off again and replace with more cold water. Leave the pot with cold water in the sink for 15-20 minutes until the eggs cool down. For more rapid cooling, you may add ice to the cold water in the pot and let the pot sit for a few minutes. When eggs are cool, drain the pot and refrigerate the eggs until you use them in Easter baskets and eat them for breakfast.
- It’s that simple!
If you’d like to branch out from ochre and try different colors and effects, Deb from the blog Just Short of Crazy has a great tutorial on how to naturally color eggs using different foods.
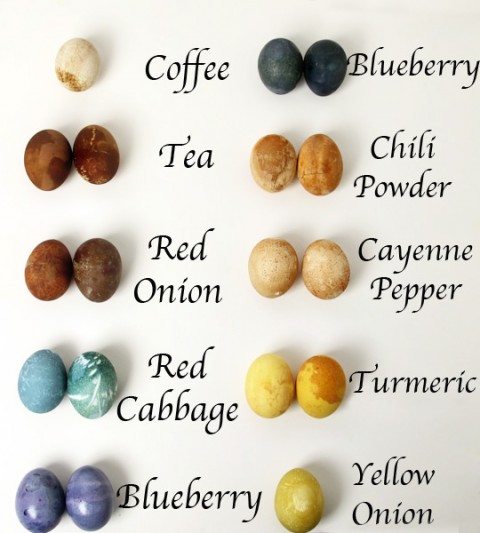 Photo by Deb Thompson used with permission.
These are flat-out gorgeous! Thanks to Deb Thompson for teaching us how.
This year, embrace the colors found in nature for your Easter basket. You’ll charm your kids!


 Welcome to my kitchen!
At ShockD, you’ll find scrumptious, tried & true, "scary good" recipes, tips and coaching to make YOU a fabulous home cook! Don't blame me if you need a 12-step program to wean yourself away!
E-mail me: Dorothy.Reinhold@gmail.com

{ 13 comments… read them below or add one }
Next Comments →
Those are flat-out gorgeous. I love this- what a unique and beautiful addition to the Easter table 😉
Such a great idea, Dorothy! Thank you so much – we will be coloring eggs in PDX today 🙂
Ahhh I love this! They’re so pretty and now I can’t wait to try this.
We did this last year for the first time. It was really fun to see what colors were produced with different natural dyes. I love the egg chart.
That reminds me of my childhood. We used to do that around Easter and I remember how excited we were when we realized that just a simple onion skin does the trick. =)
Stunning eggs…I love the natural colors so much better than the neon artificial ones! Thanks for sharing this technique.
Those blueberry eggs are probably the most beautiful eggs I’ve ever seen! What a great way to get creative!
I love this! What a great idea!
Thanks for the egg coloring tips. They’re lovely!
I have been wanting to try out naturally dyed Easter eggs for a while now – I think this year might be the year!!!
What a great idea! Thanks for sharing 🙂
Love this post Dorothy! I make handmade textiles, and we use onion skins, eucaliptus bark, yerba mate and so many other natural things to dye the silk. Love the colors you came up with!
What beautiful eggs! I love the colors and the way the onion skins give them a special look. Wow.
{ 7 trackbacks }